

Blog Posts

'Polygon Peril' Prototype video game available to play now
Jan 17, 2024
Game Development
Godot

React Behavioural Props
Jun 8, 2023
React.js
Web Dev
Software Development
Tips

How to Cherry-Pick a Git Commit from a Fork
Jun 8, 2023
Git
GitHub
Cherry-Pick
Software Development
Terminal
Forks
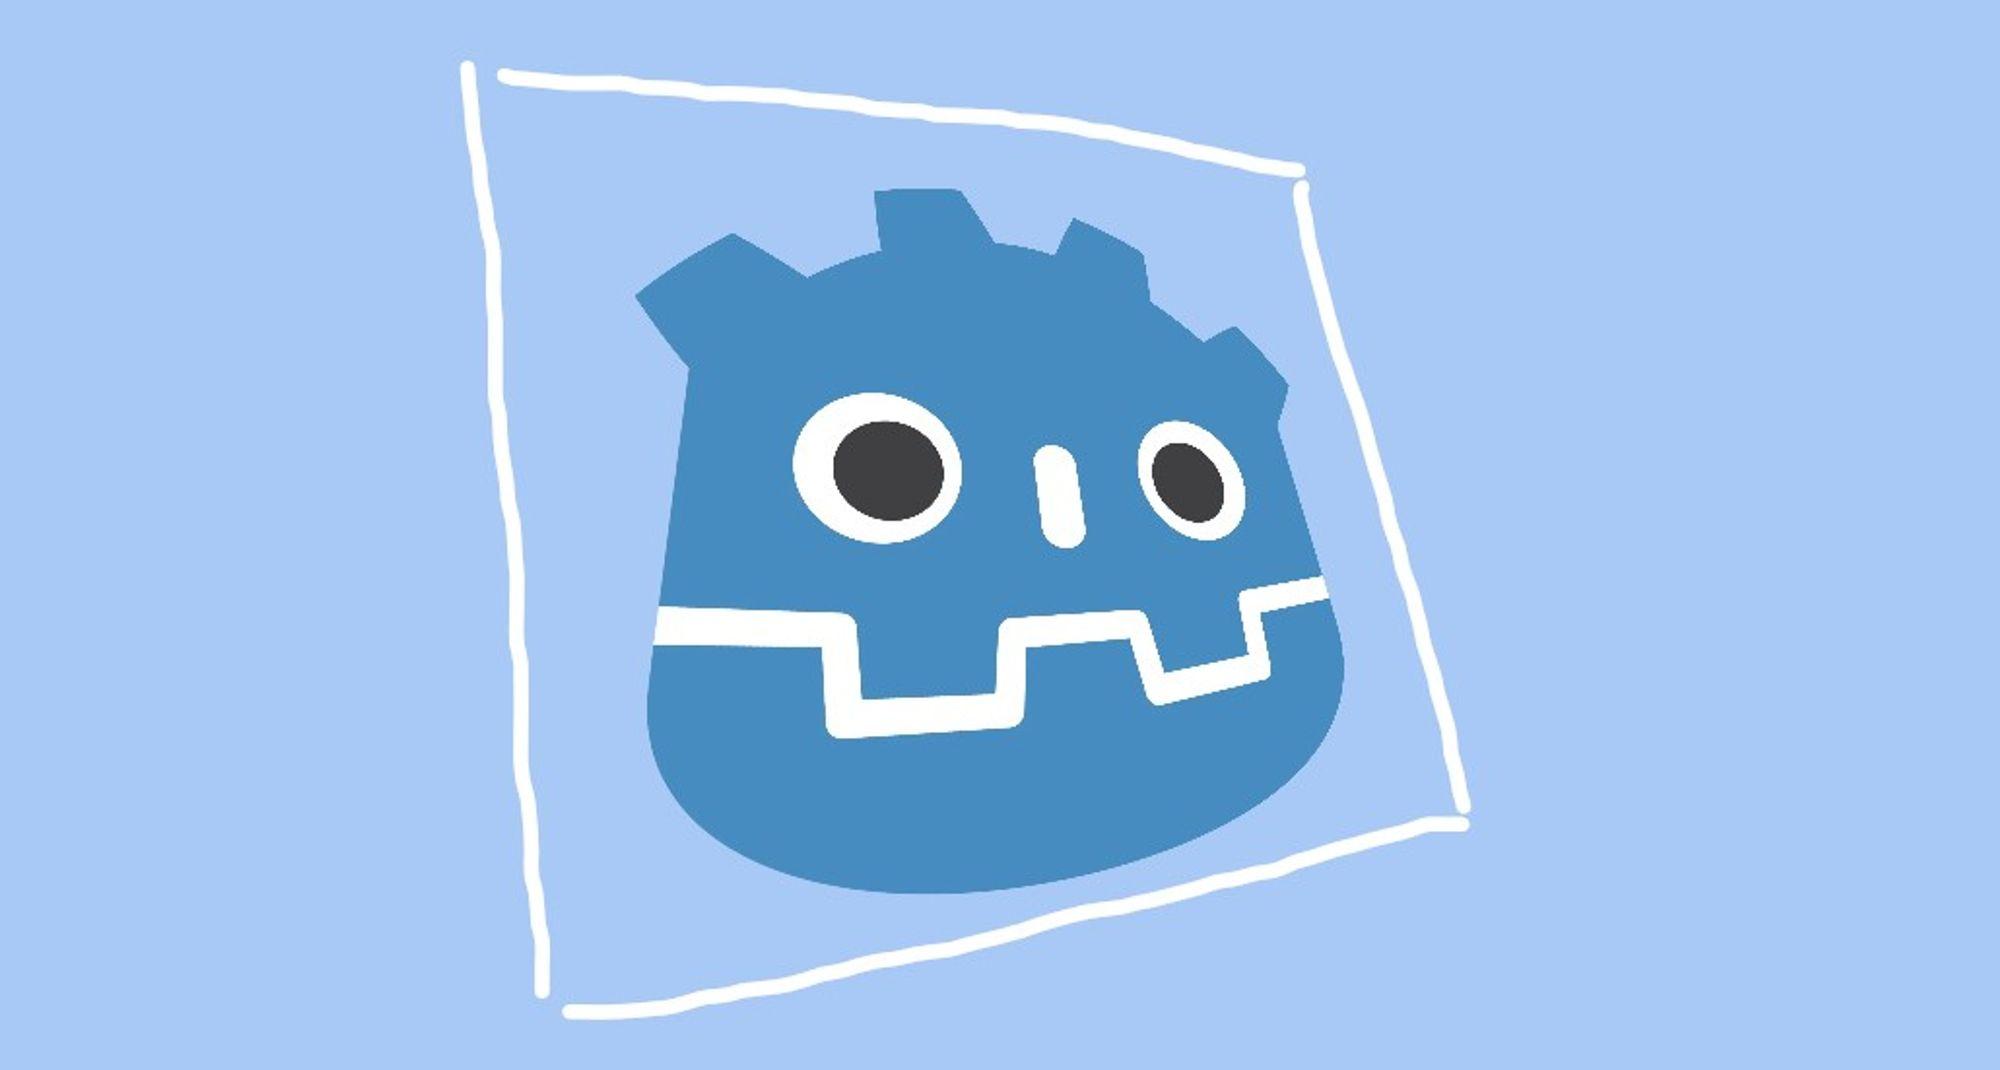
Get 3D look rotations in 2D with Godot 4
Apr 23, 2023
Godot
Game Development
Shaders
Arkon
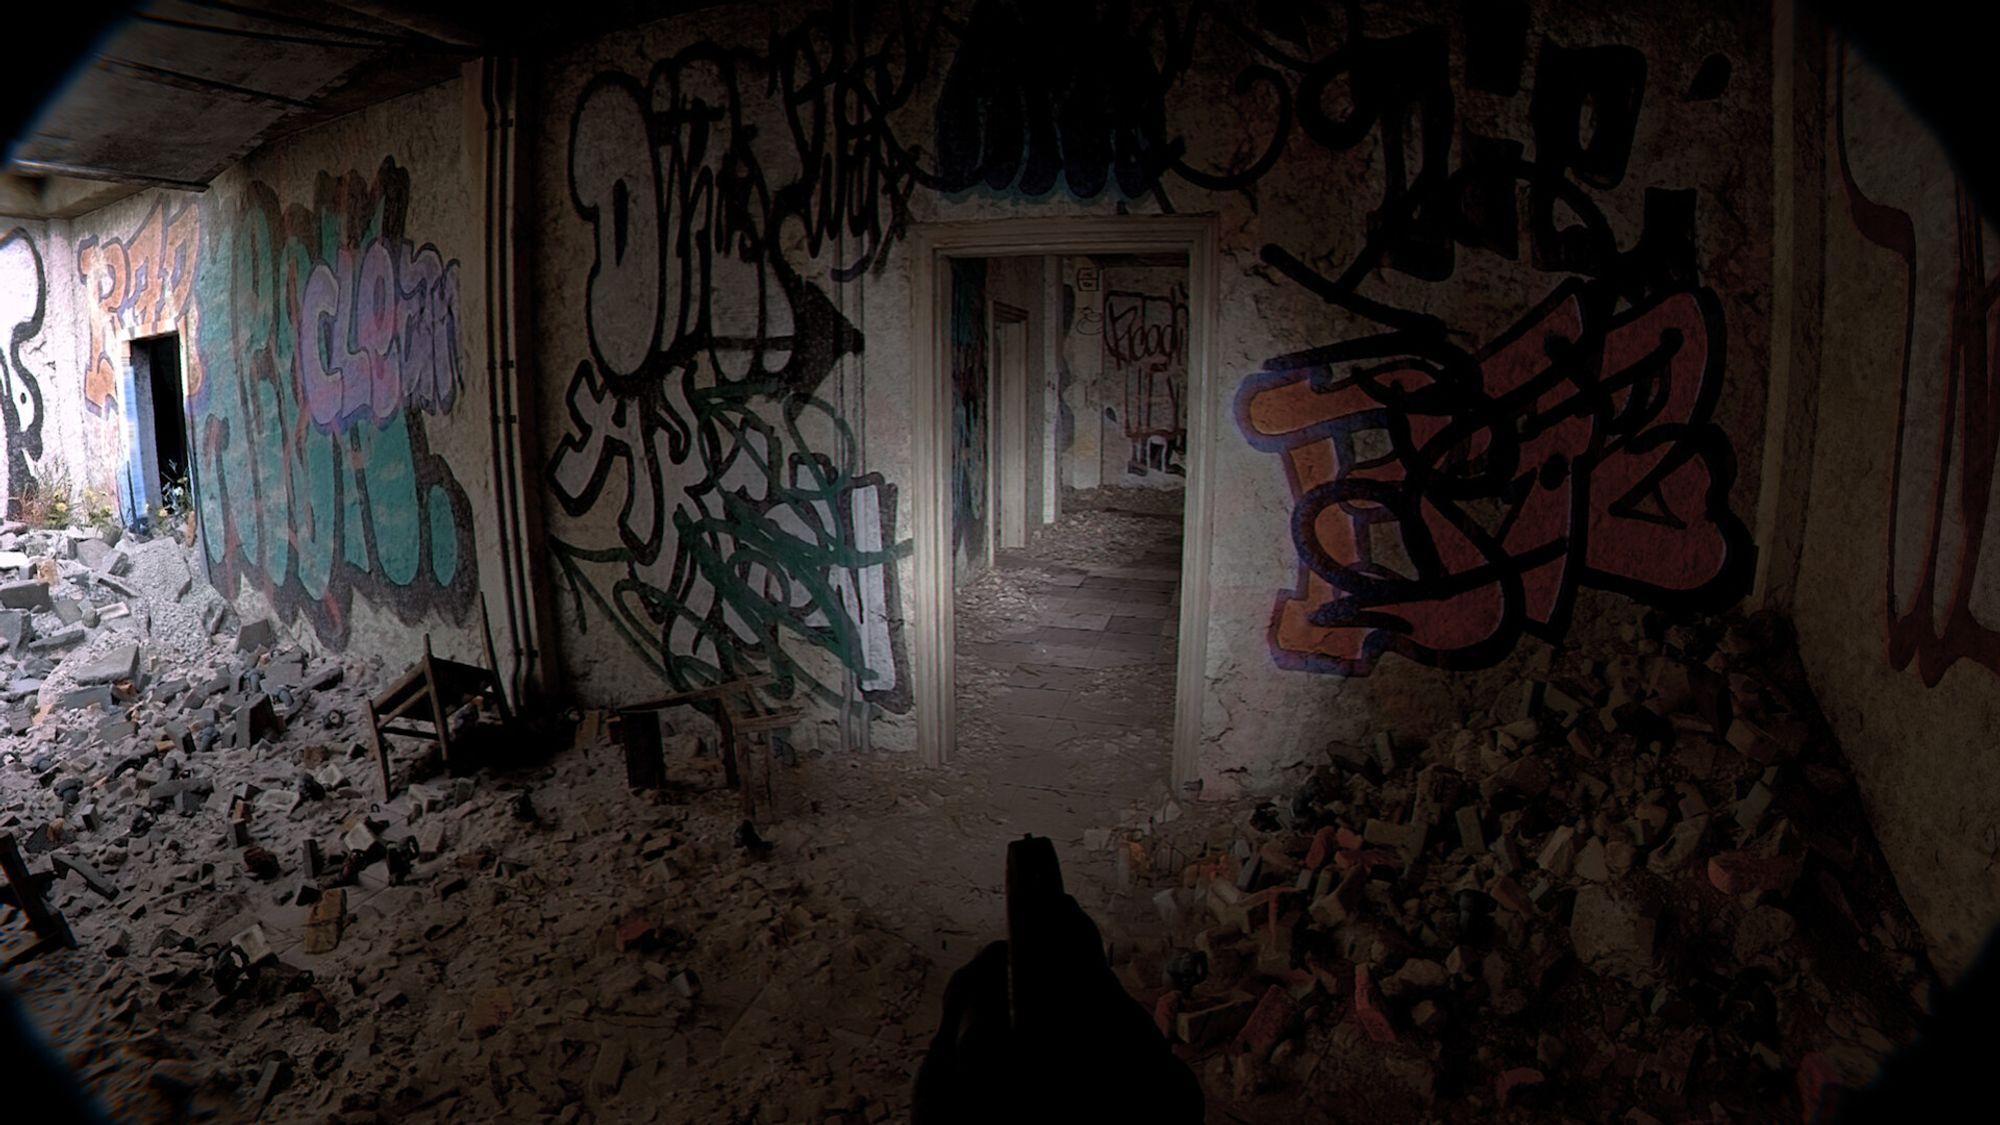
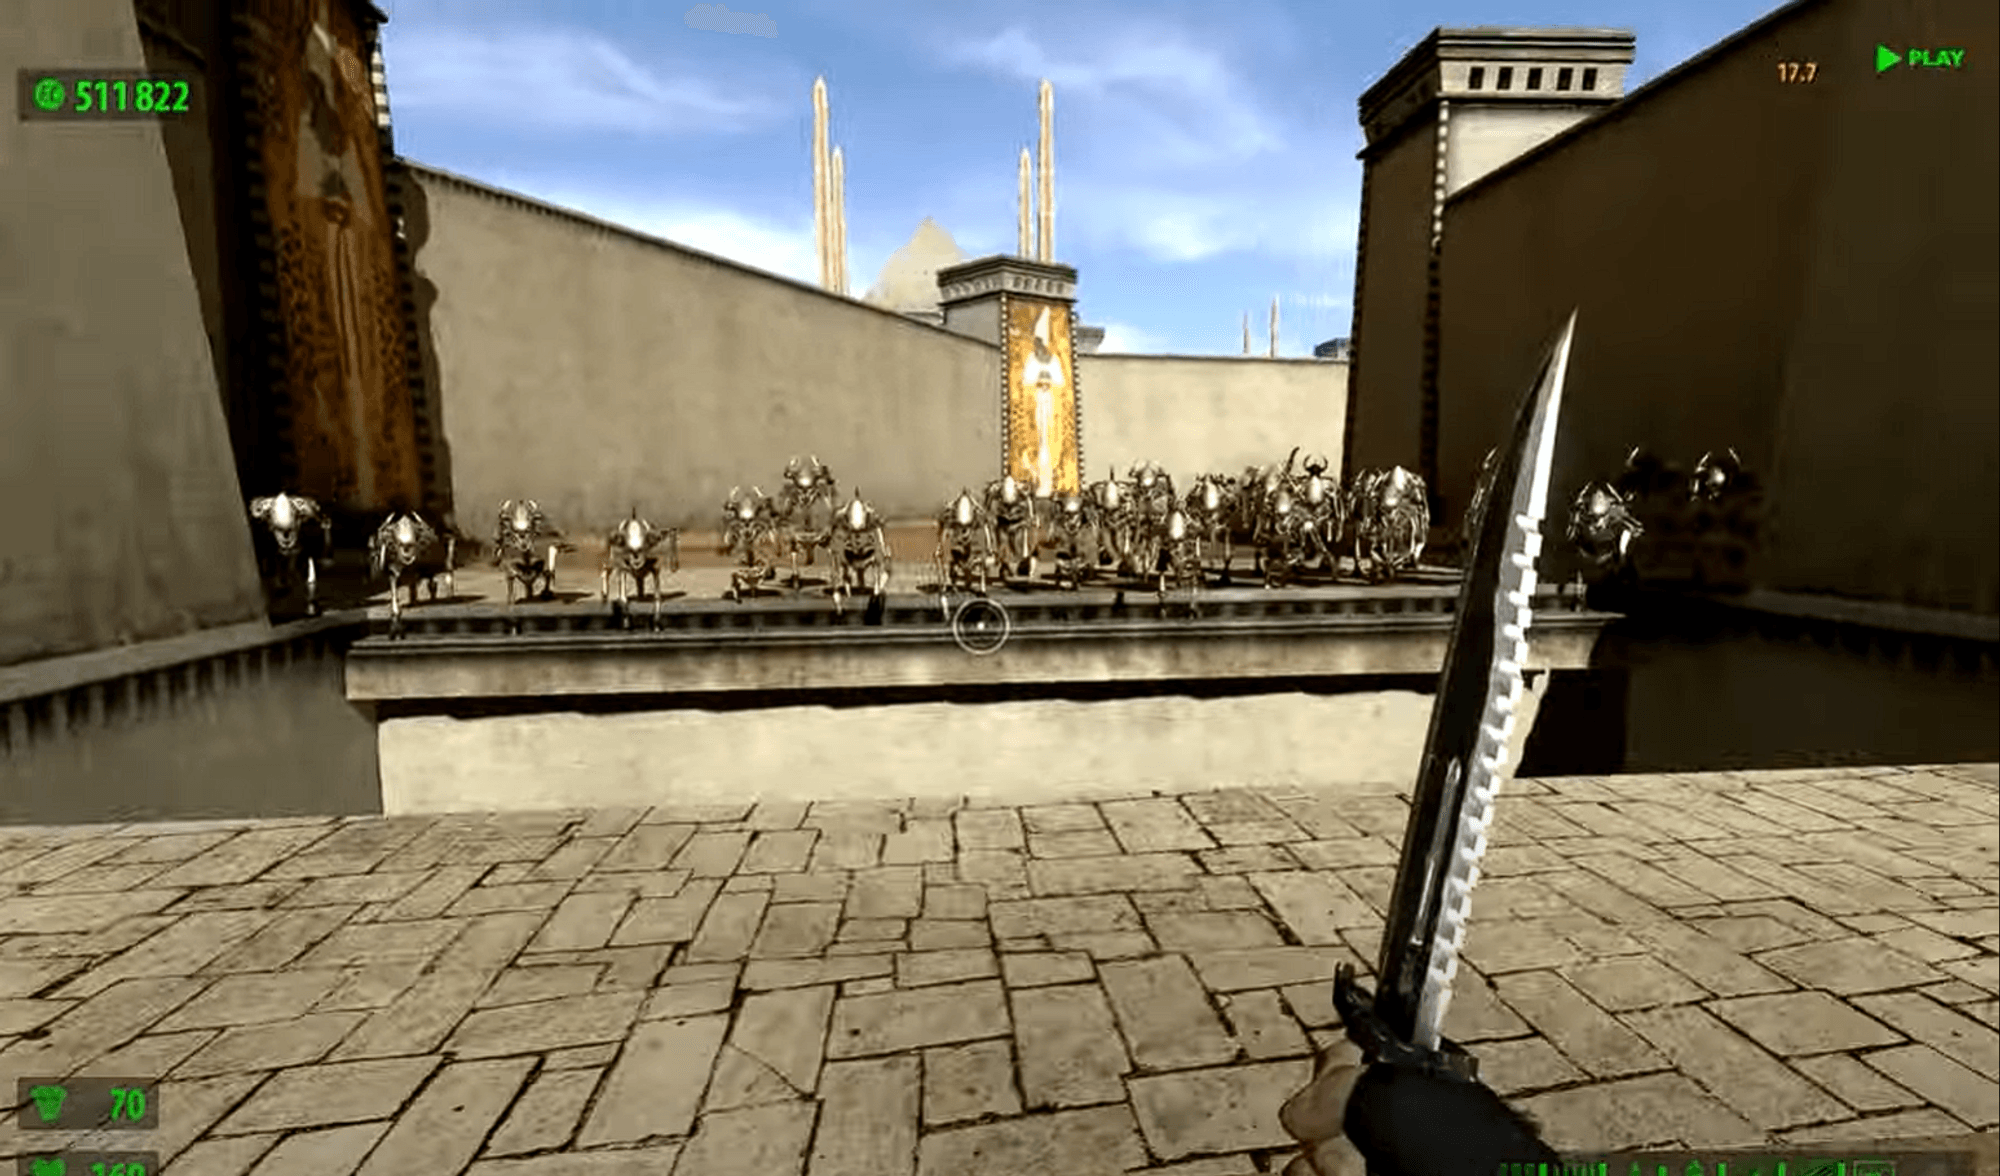
UNRECORD: Is this game footage real or fake?
UNRECORD is causing a stir on social media
Apr 22, 2023
Gaming
First Person Shooters
First Look

Migrating from Styled Components to Emotion
A short and simple guide
Aug 7, 2021
Bundling
Emotion
ES6
JavaScript
Migration
React.js
Styled-Components
How To Add JavaScript Bundling To An Existing MVC Project
A Modern Approach to Legacy Web Applications
Oct 15, 2018
Bundling
ES6
ASP.NET
DotNet
JavaScript
Laravel
MVC
Webpack

Git: Delete Merged/Deleted Branches
Jan 29, 2016

Getting Started With Meteor and React
Now with more ES6
Sep 28, 2015

How To Build The Native Docker Client On Windows
Mar 10, 2015

University (Upending My Life) and Some History
A change of scenery and means
Nov 17, 2013

Xbox Media Centre with Raspberry Pi
Trying out three XBMC distributions
Sep 30, 2013
Update All Hg Repositories Using Powershell
Jul 5, 2012
Serious Sam HD – Kleer Skeleton Surfing
Jan 27, 2010

Image Caching for a WPF Desktop Application
Dec 12, 2009
HOWTO Query MSSQL And Send HTML Email Using Powershell
Sep 13, 2009
PowerShell
SQL Server
HTML
Email
HOWTO